1
Download the client
Visit the download page and pick the build that fits your device.
Six guided steps take you from getting the app to finishing your very first connection.
Each step below assumes the previous one is done. If a step does not behave as described, pause there, note what the client shows, and check the troubleshooting table before moving on.
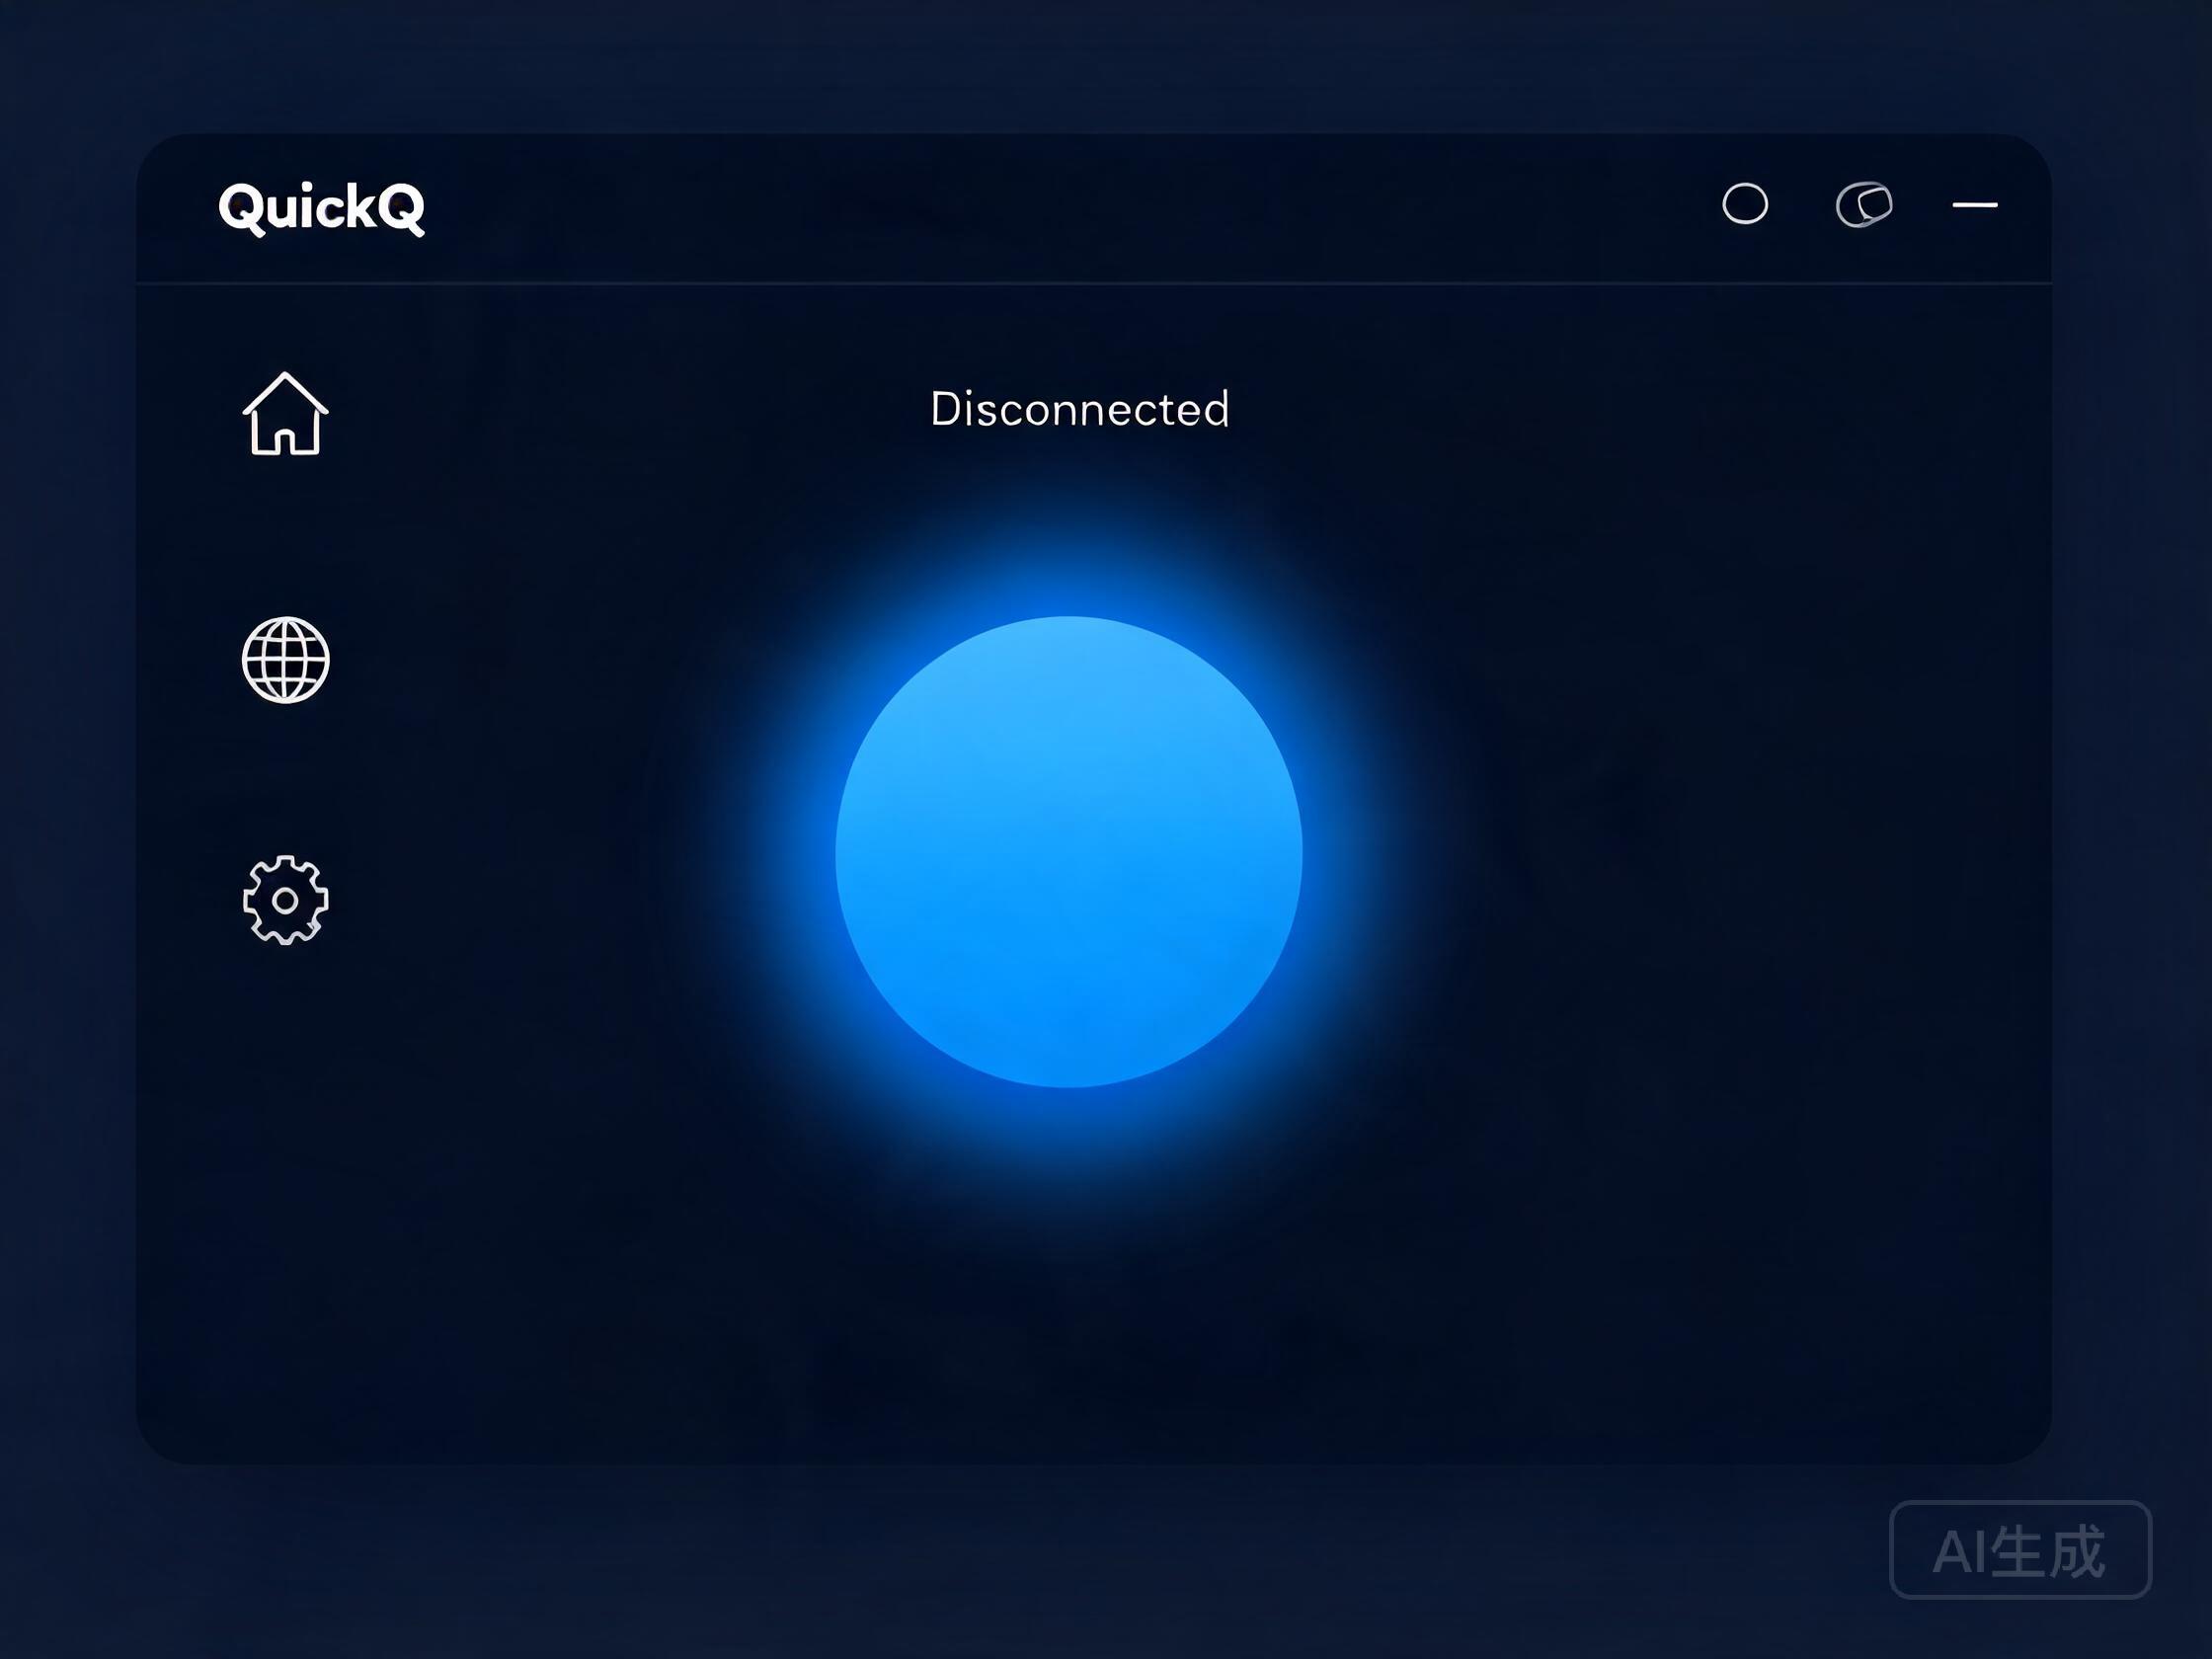
Illustrative mockup: client home screen (disconnected). Refer to your installed version.
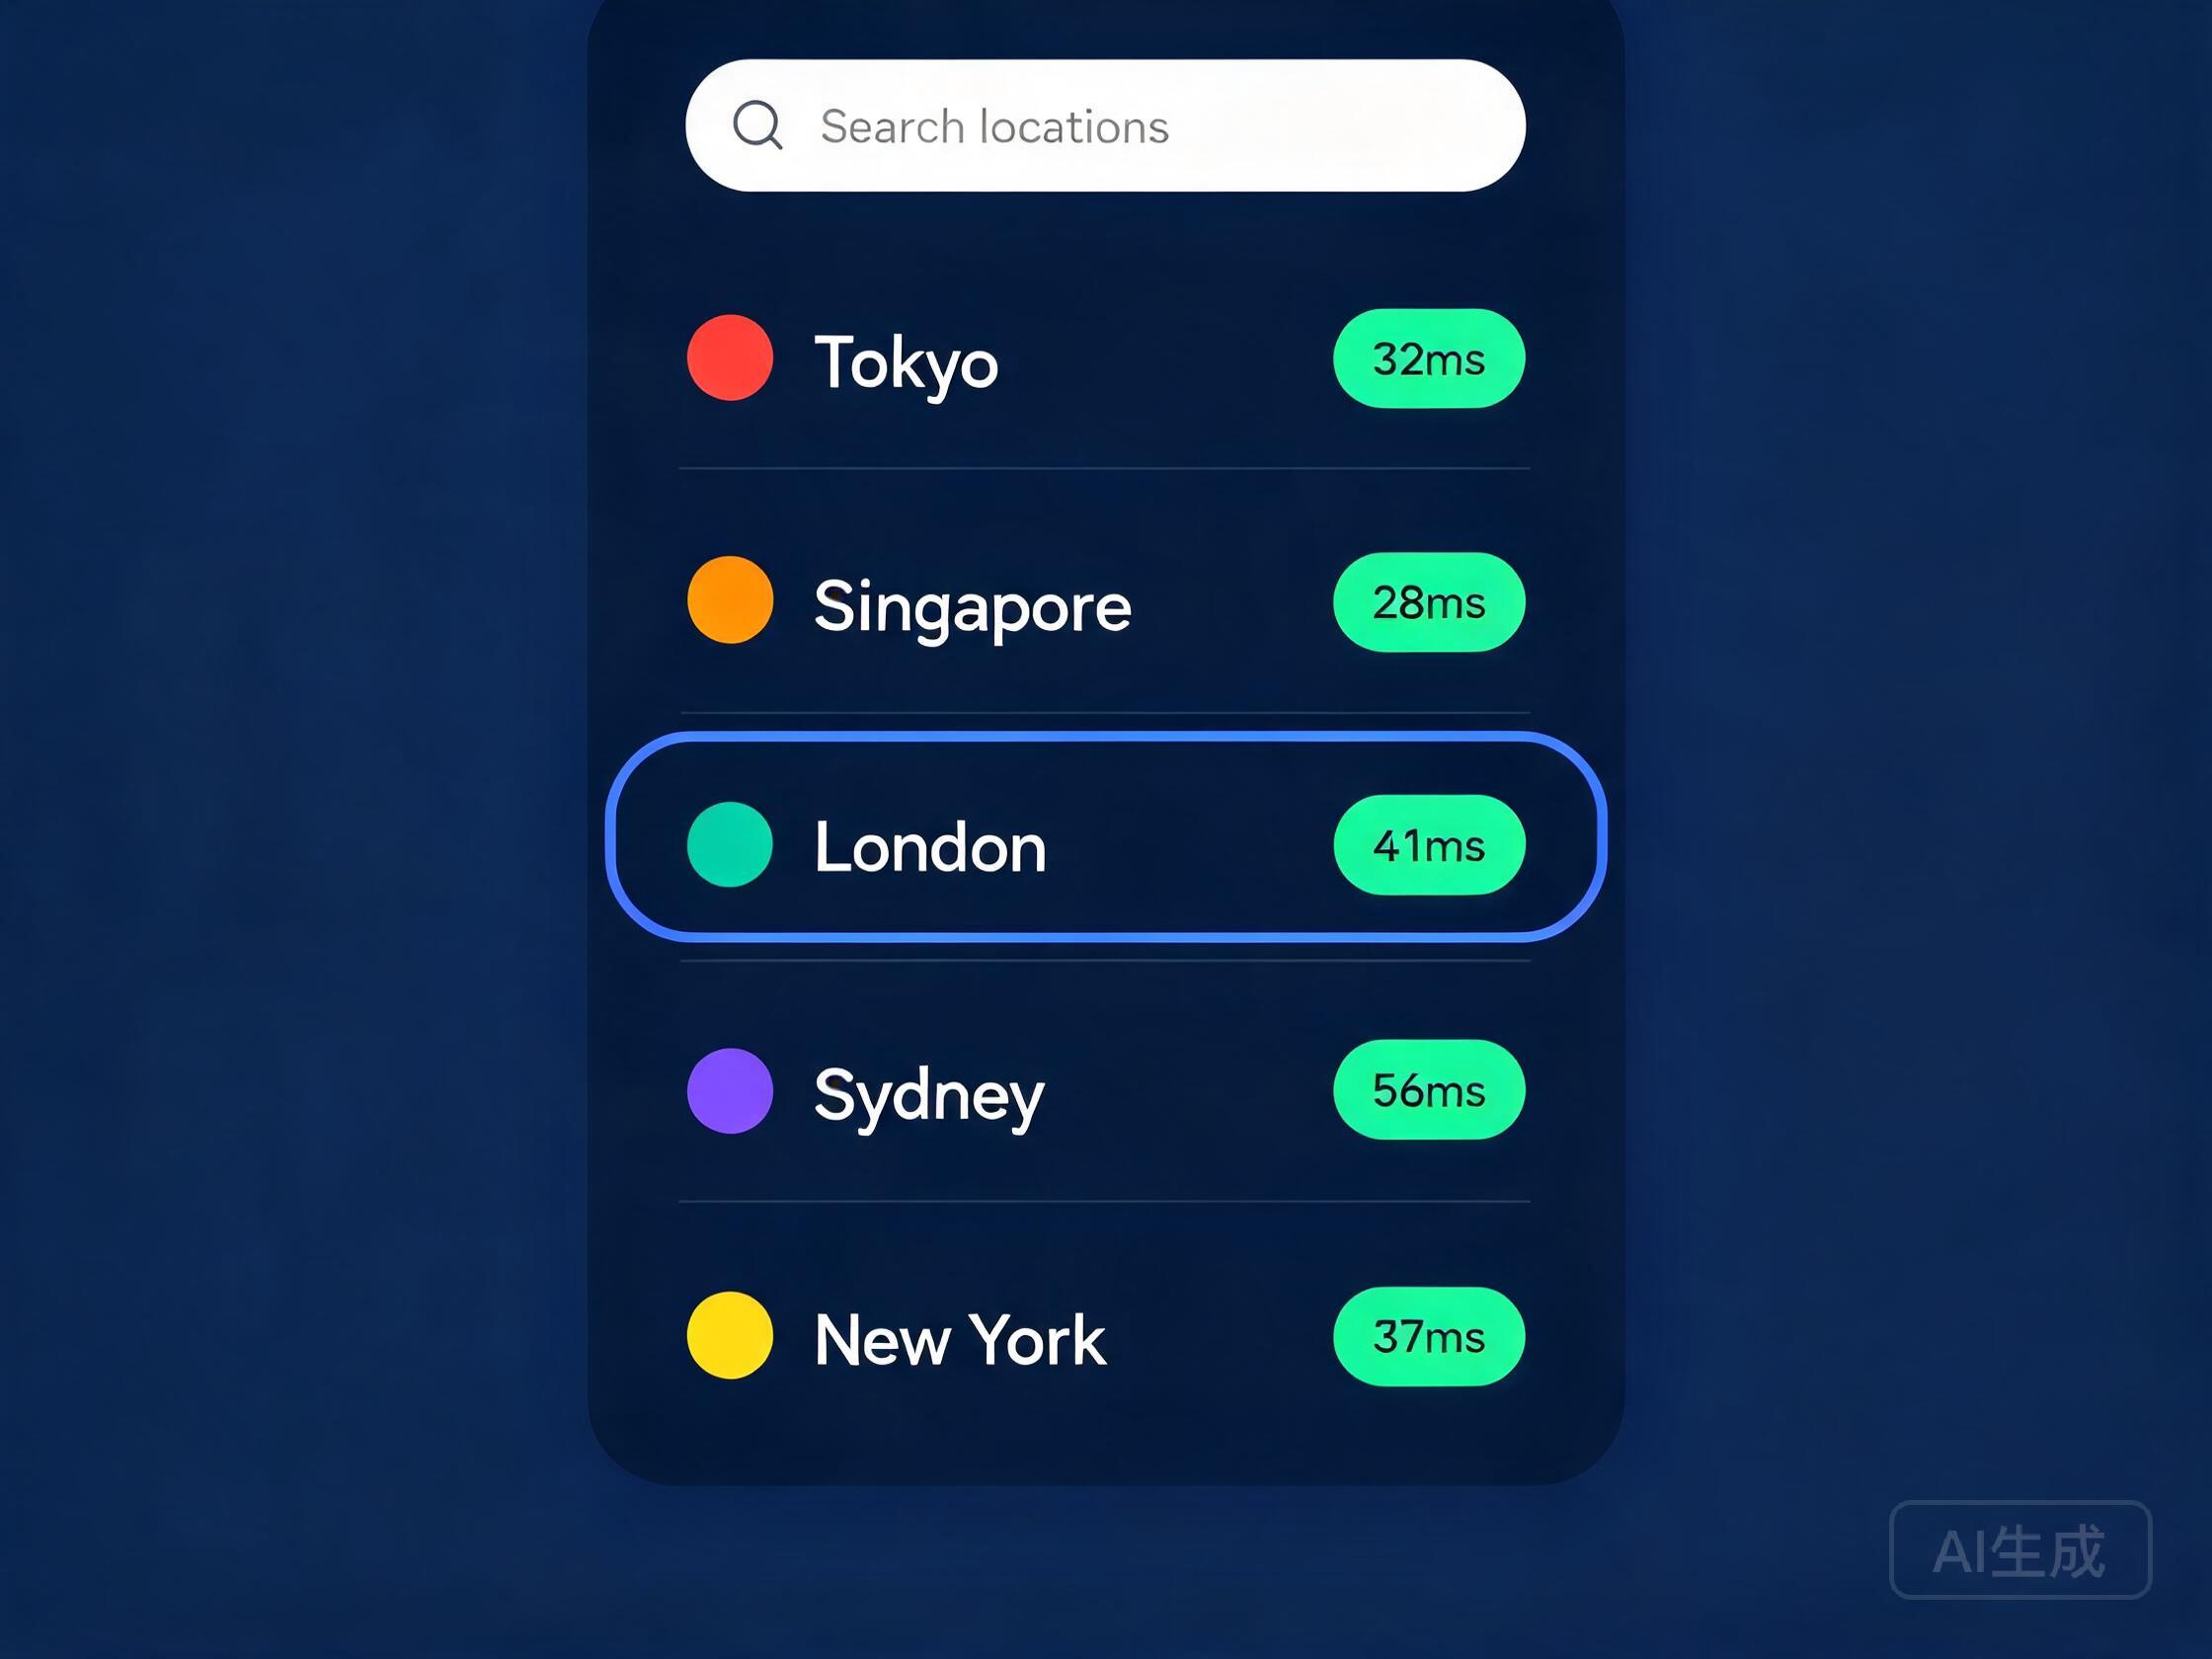
Illustrative mockup: route list with latency display. Refer to your installed version.
Visit the download page and pick the build that fits your device.
Launch the installer and do what the on-screen prompts say.
Start QuickQ and type in the account details you registered with.
Look through the list on offer and pick one that suits you.
Tap connect, then hold on until the status shows it worked.
End the session when you are done, or jump to a different route anytime.
Match what you see in the client with the checks below, and change only one setting at a time so the actual cause stays clear. The full five-step path lives in the connection guide.
| What you see | Check first | Then handle |
|---|---|---|
| Cannot sign in | Account, password, and verification code | Reset your credentials or contact support |
| Stuck on connecting | Local internet and route status | Disconnect and choose another route |
| Frequent disconnects | Device sleep settings and background tools | Update the client and reconnect |
| Speed fluctuates | Background downloads and the current route | Pause heavy tasks, then switch |
Work through the six steps in order, and return to the matching step if anything looks off.